In Part 1 of this series, we explored the Model Context Protocol (MCP) - what it is, why it matters, and how it gives LLMs structure through the loop of plan, execute, remember, and refine. That post laid the foundation for understanding why MCP is becoming the standard for building reliable, tool-integrated AI systems.
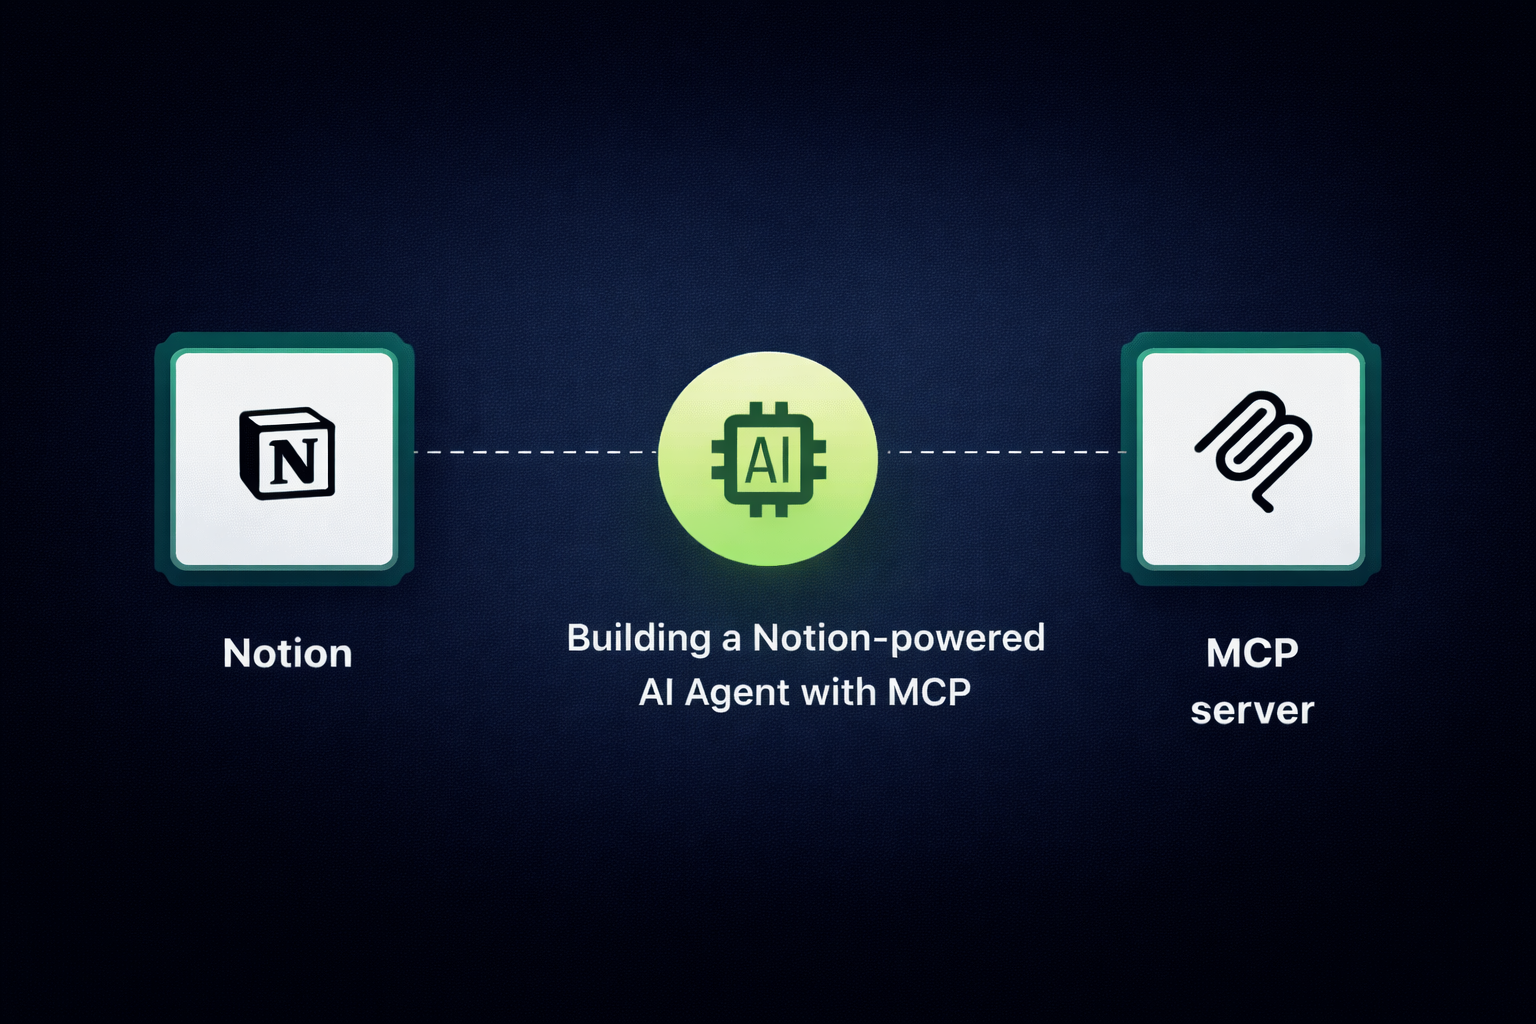
In this post, we’ll put those ideas into practice with the Notion MCP server. Notion is where many teams already store their documents, databases, and project workflows, making it the perfect first example of how MCP can turn knowledge tools into live, queryable extensions for your AI agents.
With the Notion MCP server, your agent can query databases, retrieve pages, create or update notes, and even power lightweight support workflows, all through standardized tool calls.
We’ll walk through setting up the open-source Notion MCP server, configuring its transport options, and connecting it to an AI app with the Vercel AI SDK. Along the way, you’ll see a practical demo: a support chatbot powered directly by Notion content.
By the end, you’ll have a working MCP integration you can run locally - a hands-on companion to the concepts you learned in Part 1.
Want to see this working before you build it? Check out this short demo of the setup in action.
What is the Notion MCP Server and Why Use It?
The Notion MCP server acts as a bridge between Notion’s API and an AI agent. Instead of defining every single API call, authentication rule, and custom prompt by hand, this server provides a ready-to-use, MCP-compliant layer that makes Notion fully accessible to any compatible agent.
Think of it as a plug-in adapter: the server declares all the available tool calls, and the agent can pick and use them as needed. This makes it easier, more consistent, and far more scalable than wiring Notion’s APIs one by one.
Overview of the Open-Source Server
For this example, we’ll use the open-source Notion MCP server maintained by Notion. While Notion itself has standardized internal integrations, this open-source server exposes a reusable MCP interface that’s developer-friendly and easy to extend.
It connects directly to Notion’s OpenAPI, automatically handling tool definitions so your agent can focus on intent, not boilerplate.
Key Capabilities of the Notion MCP
The server comes feature-rich out of the box and supports the most common operations you’d need for general-purpose work. Examples include:
API-post-search→ Search for a page by title.API-post-database-query→ Query a Notion database.API-retrieve-a-page→ Fetch the contents of a specific page.API-get-block-children→ Retrieve all blocks within a page.API-get-users→ List users who have access to a page.API-create-a-page→ Create a new page with a given title.API-create-a-block→ Insert a block into a page.
In short, the Notion MCP server provides a universal, MCP-standardized interface to Notion’s functionality, so any AI agent that understands MCP can instantly leverage Notion as a knowledge and workflow backend.
How to Set Up the Notion MCP Server (Step by Step)
Before integrating with an AI app, the Notion MCP server needs to be installed and configured locally - essentially a self-hosted Notion MCP server running in your environment.
1. Prerequisites
- Node.js^20 (latest LTS recommended)
- A Notion API token with access to your workspace (you can generate this by creating an internal integration in Notion - guide here)
- Git installed
2. Clone the Repository
git clone https://github.com/makenotion/notion-mcp-server.git
cd notion-mcp-server
3. Install Dependencies
npm i4. Configure Environment
Create a .env file in the project root and add your Notion API credentials:
OPENAPI_MCP_HEADERS="{\"Authorization\": \"Bearer ntn_***\", \"Notion-Version\": \"2022-06-28\"}"Replace ntn_*** with your Notion API token.
5. Run the Server
By default, many MCP servers run on stdio transport for tools like Cursor or Claude. In this setup, we’ll run it over HTTP transport, which makes it easier to integrate with web applications.
npx tsx scripts/start-server.ts --transport http --port 8000 --auth-token "1234567890"This starts the Notion MCP server at:
- Endpoint:
http://localhost:8000/mcp - Auth Token:
1234567890
Once the server is running, your AI agent can discover and use Notion’s APIs through MCP without any manual wiring.
Choosing Transport for MCP: stdio vs HTTP
In MCP, transport defines how messages move between the client (your AI agent) and the MCP server. It’s the channel that carries JSON-RPC requests and responses, similar to how backend communication patterns work in APIs. MCP supports multiple transport mechanisms - we’ll explore a couple of them here.
Types of Transport
- HTTP Transport
- stdio Transport
Often used when running MCP servers as subprocesses inside tools like Cursor or Claude.
Choosing the Right One
- stdio works best for local-first workflows where the MCP server runs directly alongside your agent.
- HTTP is the better choice when you want to expose the MCP server to multiple clients, deploy remotely, or integrate with web apps.
For this use case, we’ll use HTTP transport to make it easy to connect with the Vercel AI SDK and other web-based applications.
Key takeaway:
How to Integrate Notion MCP with Vercel AI SDK
The Vercel AI SDK is an open-source toolkit for building AI-powered applications. It simplifies working with LLMs, streaming responses, and connecting external tools like MCP servers. With the latest version (v5), integration with MCP is built in - currently available as an experimental feature in the Vercel AI SDK.
Connecting the Notion MCP server to an AI app requires just a few steps:
1. Create a New Next.js App
pnpm create next-app@latest notion-mcp-chat2. Add a Chat Route
In /app/api/chat/route.ts, set up an API endpoint that creates an MCP client over HTTP and forwards tool calls to your AI model.
import { google } from "@ai-sdk/google";
import { StreamableHTTPClientTransport } from "@modelcontextprotocol/sdk/client/streamableHttp.js";
import {
  convertToModelMessages,
  experimental_createMCPClient,
  stepCountIs,
  streamText,
  type UIMessage,
} from "ai";
import type { NextRequest } from "next/server";
import { v4 as uuidv4 } from "uuid";

export const maxDuration = 30;

export async function POST(req: NextRequest) {
  const { messages }: { messages: UIMessage[] } = await req.json();
  let sessionId = uuidv4();

  const httpTransport = new StreamableHTTPClientTransport(
    new URL("http://localhost:8000/mcp"),
    {
      sessionId,
      fetch: async (url: string | URL, options: RequestInit = {}) => {
        const res = await fetch(url, {
          ...options,
          headers: {
            ...options.headers,
            Authorization: "Bearer 1234567890",
            "mcp-session-id": sessionId,
            "Content-Type": "application/json",
            Accept: "application/json, text/event-stream",
          },
        });

        const serverSessionId = res.headers.get("mcp-session-id");
        if (serverSessionId) sessionId = serverSessionId;

        return res;
      },
    },
  );

  const client = await experimental_createMCPClient({ transport: httpTransport });
  const toolSet = await client.tools();

  const response = await streamText({
    model: google("gemini-2.5-flash"),
    stopWhen: stepCountIs(5),
    tools: toolSet,
    messages: convertToModelMessages(messages, toolSet),
  });

  return response.toUIMessageStreamResponse();
}
This route:
- Connects to the MCP server over HTTP.
- Loads all available tools from the Notion MCP server.
- Passes them to the LLM, so it can invoke the right one.
- Streams responses back to the client in real time.
3. Why This Matters
With this integration, your app can handle natural language queries while dynamically deciding which Notion tools to call. Instead of hardcoding API requests, the MCP client supplies the tools, and the AI decides when and how to use them.
You can explore or clone the full implementation here
Natural Language Queries with the Help of the Notion MCP Server
With the Notion MCP server running and connected to the Vercel AI SDK, the next step is to build a frontend that lets users interact with it through natural language. A simple chat interface will do the job.
1. Create a Chat Component
Inside /app/components/chatBot.tsx, add the following code:
'use client';

import { useChat } from '@ai-sdk/react';
import { DefaultChatTransport } from 'ai';
import { useState } from 'react';

export default function ChatBot() {
  const { messages, sendMessage, status } = useChat({
    transport: new DefaultChatTransport({
      api: '/api/chat',
    })
  });
  const [input, setInput] = useState('');

  return (
    <div className="max-w-2xl mx-auto p-4">
      <div className="bg-white rounded-lg shadow-lg border">
        {/* Header */}
        <div className="bg-blue-600 text-white p-4 rounded-t-lg">
          <h1 className="text-xl font-semibold">AI Chatbot</h1>
          <p className="text-blue-100 text-sm">
            Connected to Notion MCP Server on port 8000
          </p>
        </div>

        {/* Messages */}
        <div className="h-96 overflow-y-auto p-4 space-y-4">
          {messages.length === 0 ? (
            <div className="text-center text-gray-500 py-8">
              <p>Start a conversation with the AI...</p>
            </div>
          ) : (
            messages.map((message) => (
              <div
                key={message.id}
                className={`flex ${message.role === 'user' ? 'justify-end' : 'justify-start'}`}
              >
                <div
                  className={`max-w-xs lg:max-w-md px-4 py-2 rounded-lg ${
                    message.role === 'user'
                      ? 'bg-blue-600 text-white'
                      : 'bg-gray-200 text-gray-800'
                  }`}
                >
                  <p className="text-sm">
                    {message.parts?.map((part, index) =>
                      part.type === 'text' ? (
                        <span key={`${message.id}-part-${index}`}>{part.text}</span>
                      ) : null
                    )}
                  </p>
                </div>
              </div>
            ))
          )}

          {status === 'submitted' && (
            <div className="flex justify-start">
              <div className="bg-gray-200 text-gray-800 max-w-xs lg:max-w-md px-4 py-2 rounded-lg">
                <div className="flex items-center space-x-2">
                  <div className="flex space-x-1">
                    <div className="w-2 h-2 bg-gray-400 rounded-full animate-bounce"></div>
                    <div className="w-2 h-2 bg-gray-400 rounded-full animate-bounce" style={{ animationDelay: '0.1s' }}></div>
                    <div className="w-2 h-2 bg-gray-400 rounded-full animate-bounce" style={{ animationDelay: '0.2s' }}></div>
                  </div>
                  <span className="text-sm">AI is processing...</span>
                </div>
              </div>
            </div>
          )}
        </div>

        {/* Input Form */}
        <form
          onSubmit={(e) => {
            e.preventDefault();
            if (input.trim()) {
              sendMessage({ text: input });
              setInput('');
            }
          }}
          className="p-4 border-t"
        >
          <div className="flex space-x-2">
            <input
              value={input}
              onChange={(e) => setInput(e.target.value)}
              placeholder="Type your message..."
              className="flex-1 px-4 py-2 border border-gray-300 rounded-lg focus:outline-none focus:ring-2 focus:ring-blue-500 focus:border-transparent text-black"
              disabled={status !== 'ready'}
            />
            <button
              type="submit"
              disabled={status !== 'ready' || !input.trim()}
              className="px-6 py-2 bg-blue-600 text-white rounded-lg hover:bg-blue-700 focus:outline-none focus:ring-2 focus:ring-blue-500 focus:ring-offset-2 disabled:opacity-50 disabled:cursor-not-allowed transition-colors"
            >
              Send
            </button>
          </div>
        </form>
      </div>
    </div>
  );
}
2. How It Works
- The component uses
useChatfrom the Vercel AI SDK to handle messages. - Every user input is sent to the
/api/chatroute (which we set up earlier). - The route streams responses from the MCP-connected model back into the UI.
- The chat window updates in real-time, showing both user messages and AI responses.
3. Example Flow
- User types: “Find the latest sprint notes from the engineering database.”
- The MCP client inspects the tools available from Notion MCP.
- It decides to call
API-post-database-query. - Results are fetched, stored in context, and streamed back as a natural-language response.
With this setup, your AI app can perform live queries against Notion just by typing in natural language.
Use Case: Building a Notion-Powered Support Chatbot
One of the most practical applications of the Notion MCP server is powering a support chatbot - similar to many knowledge-based AI assistants teams deploy internally. Instead of building a full-fledged RAG pipeline with vector databases and scheduled syncs, MCP allows your AI agent to query Notion directly, where your documents are already up-to-date.
How It Works
- User asks a support question → e.g., “How do I reset my account password?”
- Planner selects the right tool → MCP uses API-post-search or API-database-query to locate the relevant page.
- Executor retrieves content → The page or block content is fetched from Notion.
- AI responds conversationally → The LLM streams a natural-language answer back to the user.
Why This Approach Wins
- No re-uploading data → Notion remains the source of truth. Updates are instantly reflected without re-indexing or retraining.
- Lower cost than RAG → No vector database hosting, cron jobs, or embedding pipelines required.
- Context awareness → The agent can remember what’s been asked before and refine answers.
- Scalable foundation → The same setup can later power internal assistants, knowledge retrieval systems, or escalation workflows.
With Notion MCP, your support chatbot stays lightweight yet powerful. It delivers close to semantic results, adapts to live changes in your docs, and eliminates the overhead of maintaining parallel data pipelines.
Best Practices and Pitfalls When Using the Notion MCP Server
Before taking the Notion MCP server into production, keep these best practices in mind to avoid common issues:
Best Practices
- Keep credentials safe → Store your Notion API token in .env files or secret managers. Never commit tokens to Git.
- Test tool calls in isolation → Run sample queries (e.g., API-retrieve-a-page, API-database-query) to validate endpoints before wiring into the agent loop.
- Use the right transport → Stick with stdio for local dev or IDE plugins (Cursor, Claude) and HTTP for web apps or multi-client setups.
- Stream responses → Use streaming APIs (like streamText in Vercel AI SDK) for smoother UX.
- Keep queries focused → Scope tool calls to relevant databases or pages to reduce latency and load.
Pitfalls to Avoid
- Hardcoding tokens in code → Security risk.
- Ignoring rate limits and quotas → Notion APIs enforce usage rules; batch or throttle calls.
- Overloading memory → Avoid dumping everything into long-term state; it slows agents and bloats context.
- Skipping error handling → Handle no results, invalid data, or expired tokens gracefully.
A little upfront discipline with credentials, query design, and testing goes a long way in making
Wrapping Up
The Notion MCP server shows how Model Context Protocol moves from theory into practice. Instead of wiring APIs one by one or maintaining complex data pipelines, you can expose Notion’s capabilities through a single, MCP-compliant interface, instantly usable by any compatible agent.
In this post, you:
- Set up and ran the open-source Notion MCP server.
- Learned how transport works (stdio vs HTTP) and why HTTP is a good fit for web apps.
- Connected the server to an AI application using the Vercel AI SDK.
- Built a chat interface to make natural language queries against Notion.
- Explored a real-world use case: a lightweight support chatbot powered directly by your Notion docs.
Together with Part 1, this gives you both the why and the how of MCP: the conceptual foundations and a working example you can run today.
The key takeaway? MCP isn’t just an abstraction. It’s a practical way to give your AI systems structure, tool awareness, and memory, without reinventing integrations every time.
If you found this post valuable, I’d love to hear your thoughts. Let’s connect and continue the conversation on LinkedIn.
Samarth Goyal
SDE2
Samarth Goyal is a SDE2 at Procedure. He is a tech tinkerer who enjoys turning ideas into clean, usable products. Curious by nature and driven by learning, he loves exploring new tools, systems, and architectures. With a strong foundation in full-stack development, AI workflows, and scalable SaaS systems, he blends engineering with design thinking. From building data pipelines to experimenting with LLMs, he's always optimizing, iterating, and pushing projects forward, one thoughtful line of code at a time.
-for-smarter-ai-systems-cover-f9d52c28.png)